Titan is one of the most popular Kodi Add-ons. It has a great library, with lots of videos and TV shows to watch. The best part about Titan though is that it’s free. Follow these simple steps to install the Titan addon on your Kodi device!
This blog post will show you how to install the Titan addon on your Kodi device so that you can have access to thousands of movies, TV Shows, documentaries, and more!
What is Titan Addon on Kodi?
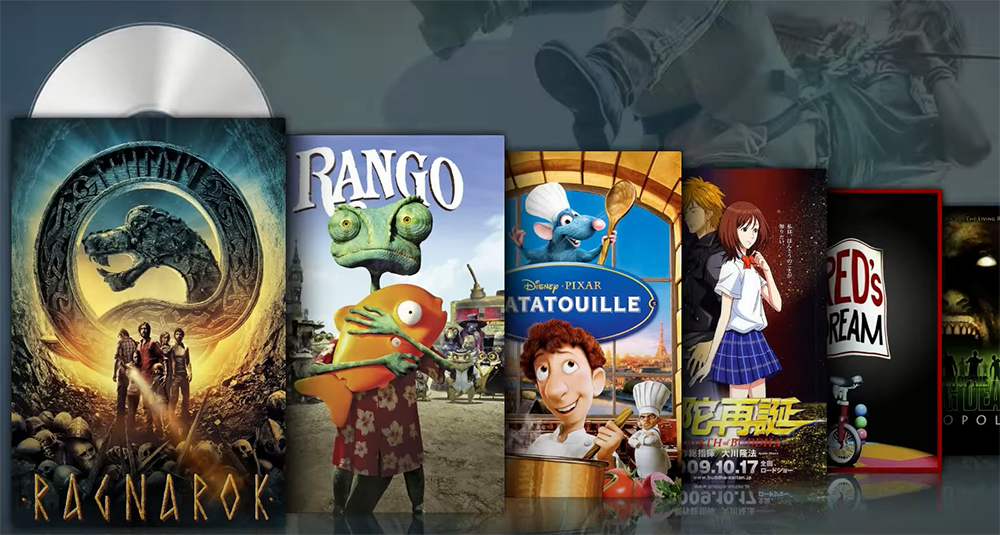
Titan is a Kodi addon that streams Movies, TV Shows, and Live IPTV Channels. It has over 200+ categories in the Video-On-Demand section.
You would find tons of content categorized according to your choice such as Action & Adventure, Animation, Anime (Japanese), Biography – Documentary (True stories), etc.
The Titan addon is a great choice for streaming Live IPTV channels. It has an extensive list of channels categorized by country and genre. You can watch your favorite Sports, News, Cartoons, Music, etc. live with this addon.
Titan is a Fork addon of the famous Sanctuary Kodi Addon. This repo has shut down, and it was forked with new code to maintain its functionality.
If you are looking for an effective replacement that works exactly like the original one, then go ahead and install Titan on Kodi. It provides all your favorite content in HD quality straightaway from their servers without any downtime or delay issues. You can get this addon directly from Kodi Repo.
Benefits of using Kodi with Titan Addon:
- The Titan addon provides a vast selection of movies and TV shows to watch;
- It is easy to use and has a great interface;
- Titan addon is regularly updated with the latest content;
- You can install it on any device that supports Kodi;
- It is free to use;
If you are looking for a great addon to watch movies and TV shows, then the Titan addon is definitely worth checking out. It has a huge selection of content, it is easy to use, and it gets updated regularly with the latest releases. Plus, it can be installed on any device that supports Kodi.
The Process of Installation of Titan Addon on Kodi
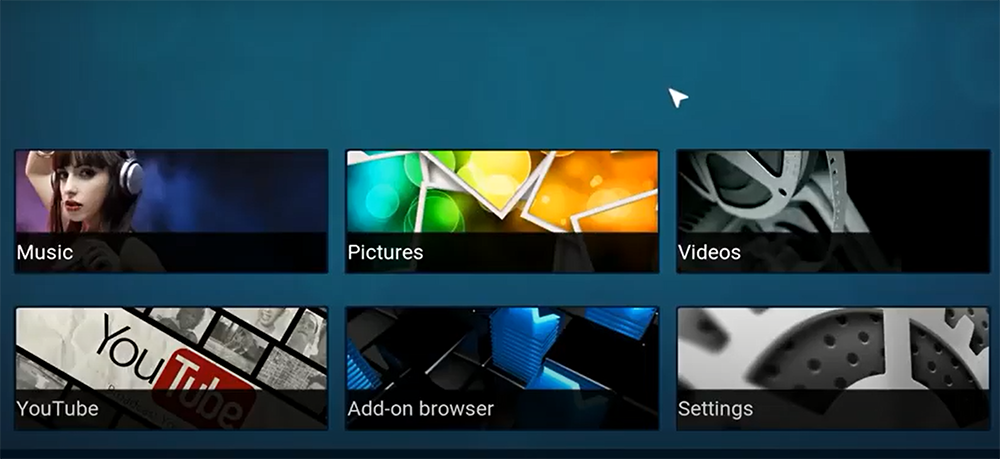
The first thing you need to do is download the Kodi app. You can find it in the Google Play Store or the Apple App Store. Once you have installed Kodi, open it and go to the main menu. Select “Add-ons” and then “Install from repository”.
Choose “Titan Repository” and select “Video add-ons”. Finally, select “Titan” and click on the install button. The addon will be installed within a few seconds. You can now open it by going back to the main menu and selecting “Add-ons > Video add-ons > Titan” [1].
Find and click on – repository.titan.addons-x.x.x.zip. The “Addon is enabled” notification should pop out the bottom right corner of your screen. Once again find and press the “Install from repository”. Choose Titan Repository, then – Video addons and Titan. Select “Install” and look for the notification at the bottom right corner of your screen.
The Titan Addon has now been installed. To access the Addon, go to VIDEOS from the main menu of Kodi and select ADDONS; there you will discover Titan Addon.
How Can I Add Titan Skins on Kodi:
- First, download the skin of your choice;
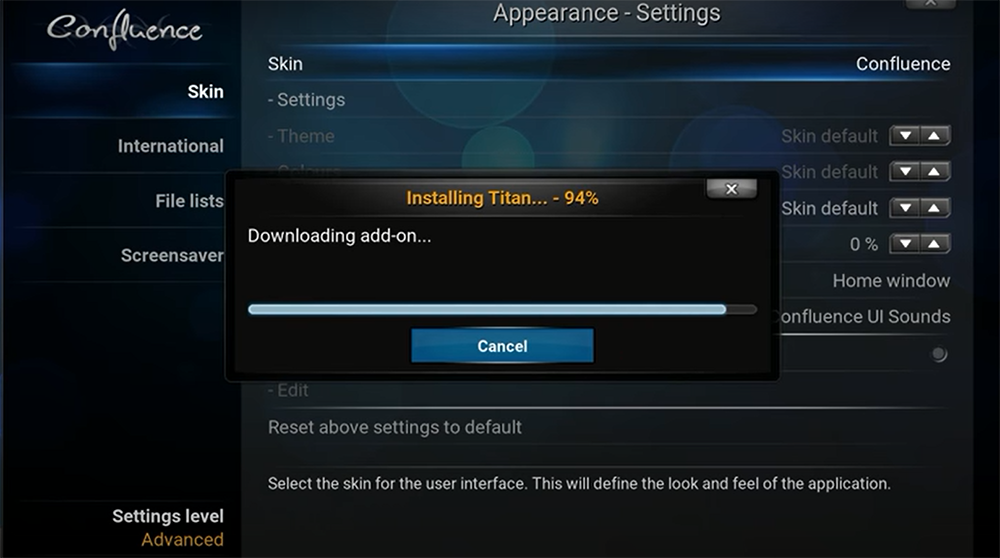
- Next, open Kodi and select SYSTEM > Appearance > Skin > Install From Zip File;
- Navigate to the location where you downloaded the skin and select it;
- The skin will install and you will be prompted to return to the main menu;
- Select SYSTEM > Appearance > Skin and choose the newly installed skin. You’re done! Enjoy using Titan skins on Kodi;
Is It Possible to Add TV Addons on Kodi:
- At first, open Kodi and go to SYSTEM > File Manager > Add Source;
- Next, click on “None” in the text box and type in this URL:
- After that, click Done and then OK;
- Now select SYSTEM from the main menu of Kodi;
- Choose Add-Ons from the submenu;
- Select Install from zip file;
- Find and click on Fusion (or whatever you named your source);
- You will see a list of folders. Click on xbmc-repos > english > repository.xbmc.org-x.x.zip;
- The add-on should install automatically and you’ll get a notification message in the bottom right corner of your screen once the installation is complete;
- Now you can access TV Addons from the Add-Ons menu within Kodi;
FAQ
1. Are there any things to know when installing Skynet addons?
To install Skynet addons within Kodi, you need to go into settings and then select the File Manager option. Here you can see a list of installed repositories or file sources that are available in your system. Just tap on any one entry from this section so as to open it up. Then click OK when asked for confirmation purposes. The next screen will show all the repository entries currently present in this repository source along with their respective directories paths listed below them respectively.
Now just look for an entry with the name Skynet Addon Repository. This is probably going to be located at the end portions of the list containing other sorted sub-entries within it like images, videos, etc. Click on it once more if so and then on the Install button that pops up next. The repository will start installing and this might take a few minutes to complete as it is quite large.
2. Why does Kodi say “Could not connect to the repository”?
If you are getting the error message “Could not connect to the repository,” it could be because of a number of reasons: your Kodi version might be too old, the repository might be down, or there might be a problem with your internet connection.
To fix this issue, make sure that you are using the latest version of Kodi and that the repository is up and running. You can also try restarting your router or modem. If that doesn’t work, then there might be a problem with your internet connection. In that case, you can try troubleshooting your network settings.
If none of these solutions work, then you can contact the repository’s developers for help [2].
3. Why can’t I install anything on Kodi?
There are some addons on Kodi which do not work with your current version. Also, you may need to enable specific repositories in order to install certain third-party Kodi addons from different sources.
Some Kodi addons are geo-restricted and can only be installed in specific regions. If you try to install them from other parts of the world, you will likely receive an error message.
Lastly, some Kodi addons may not work with your device or configuration for various reasons. In this case, you need to troubleshoot the issue and find a solution.
4. How do you get builds on Kodi?
In order to install Kodi builds, you need to enable unknown sources. This will allow you to install third-party addons and builds from different repositories.
To enable unknown sources, open Kodi and go to Settings > System settings > Add-ons. Toggle the switch next to Unknown sources so that it says ON. Then press “Yes” when prompted to continue.
You can now proceed with the installation of the build of your choice by following the instructions provided by the respective developer or repository owner.
Keep in mind that not all builds are worth installing, so be sure to do your research before downloading any Kodi build. Also, always use a VPN while streaming content through Kodi in order to keep yourself safe and anonymous online.
5. Is Kodil repo working?
No. Kodi repo is not working and there are no new updates of the addon for a long time. So, we’re stuck with an old version of this add-on for now.
It seems like it has been up today so you should be able to install Titan on Kodi 17 Krypton using Kodi Repo URL address. When that article gets updated in the future or whenever someone finds another alternative source to get the latest build of titan addon manually since it appears that Kodi Bae repository doesn’t host newer versions anymore (at least as far as my research goes). If you have any updates about repos hosting older versions of Kodi add-ons, please let us know in the comment section [3].
6. How do I empty the cache on Kodi?
The easiest way to empty cache on Kodi is by going into Settings > System Settings and then clicking on the “Clear Cache” button. You can also clear cache for individual addons by going into Add-on Settings for that specific addon.
If you are using Kodi on a mobile device, go to Settings > System and then click on “Clear Cache”. This will clear the cache of all installed add-ons.
Please note that clearing cache may cause some problems with addons if they are not updated regularly. So, it is always a good idea to check the developer’s website or social media page for updates before clearing the cache.
Useful Video: How to Install Titan Skin Addon for Kodi 17
- https://tvboxbee.com/how-to-install-titan-addon-on-kodi
- https://kodierror.com/kodi-not-working-errors
- https://www.videoconverterfactory.com/kodi/kodil-repo-alternatives.html


0 commenti